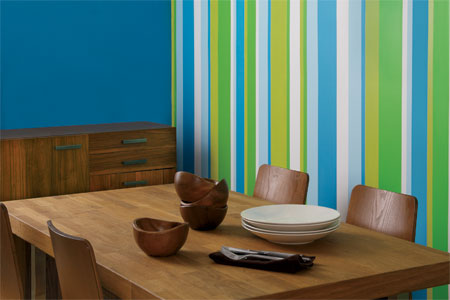
Painting Stripes on a wall
Stripes painted on a wall can make quite a dramatic impact on an entire space. They can be subtle with two very close colors or bold with a full palette of vibrant shades and they are ideal for any room in the house. Stripes look outstanding horizontal or vertical, on an entire wall or on the bottom half with a border to break up the area. That being said, as remarkable as they can look, they must be done properly, with a lot of care. There is truly nothing at all appealing about a crooked, uneven or smudged stripe.
- Measure the Wall – Measure the entire wall and then determine how many stripes you want to create as well as how wide they will be. Keep in mind, they do not all have to be the same width but there should be some sort of pattern.
- Mark Lines – Beginning at one corner, mark where the first line will go at both the ceiling and the floor. Continue to do this across the entire wall.
- Tape – Use painter’s tape to run the roll from the ceiling down to the floor on either side of the stripe, making sure it lines up perfectly to the marks you created.
- Paint – The roller you use to paint should be scaled to the size of the stripes you’re creating, generally a small one will work best. You can paint right over the tape so don’t worry about staying in the lines.
- Remove Tape – While the paint is still slightly wet, remove the tape very careful and leave the wall to dry.
Stripes are a nice change for a room that you just can’t decide what to do with. They are also an easy way to bring a little color into a dull space. Vertical lines can help if you have low ceilings to make the room appear taller while horizontal lines can offer the illusion of a larger area.
